Hello Friends and welcome to the blog today.
I hope everyone is doing well this Wednesday as we are right in the middle of the week. As the temps get warmer, it seems that more folks are out and about enjoying the outdoor spaces. Are you ready for the cicadas? I can tell that I’m not and I’m terrified. (LOL) I don’t know long they will be around the last time they were gone so quickly I don’t even think I saw one, and I’m really ok with that.
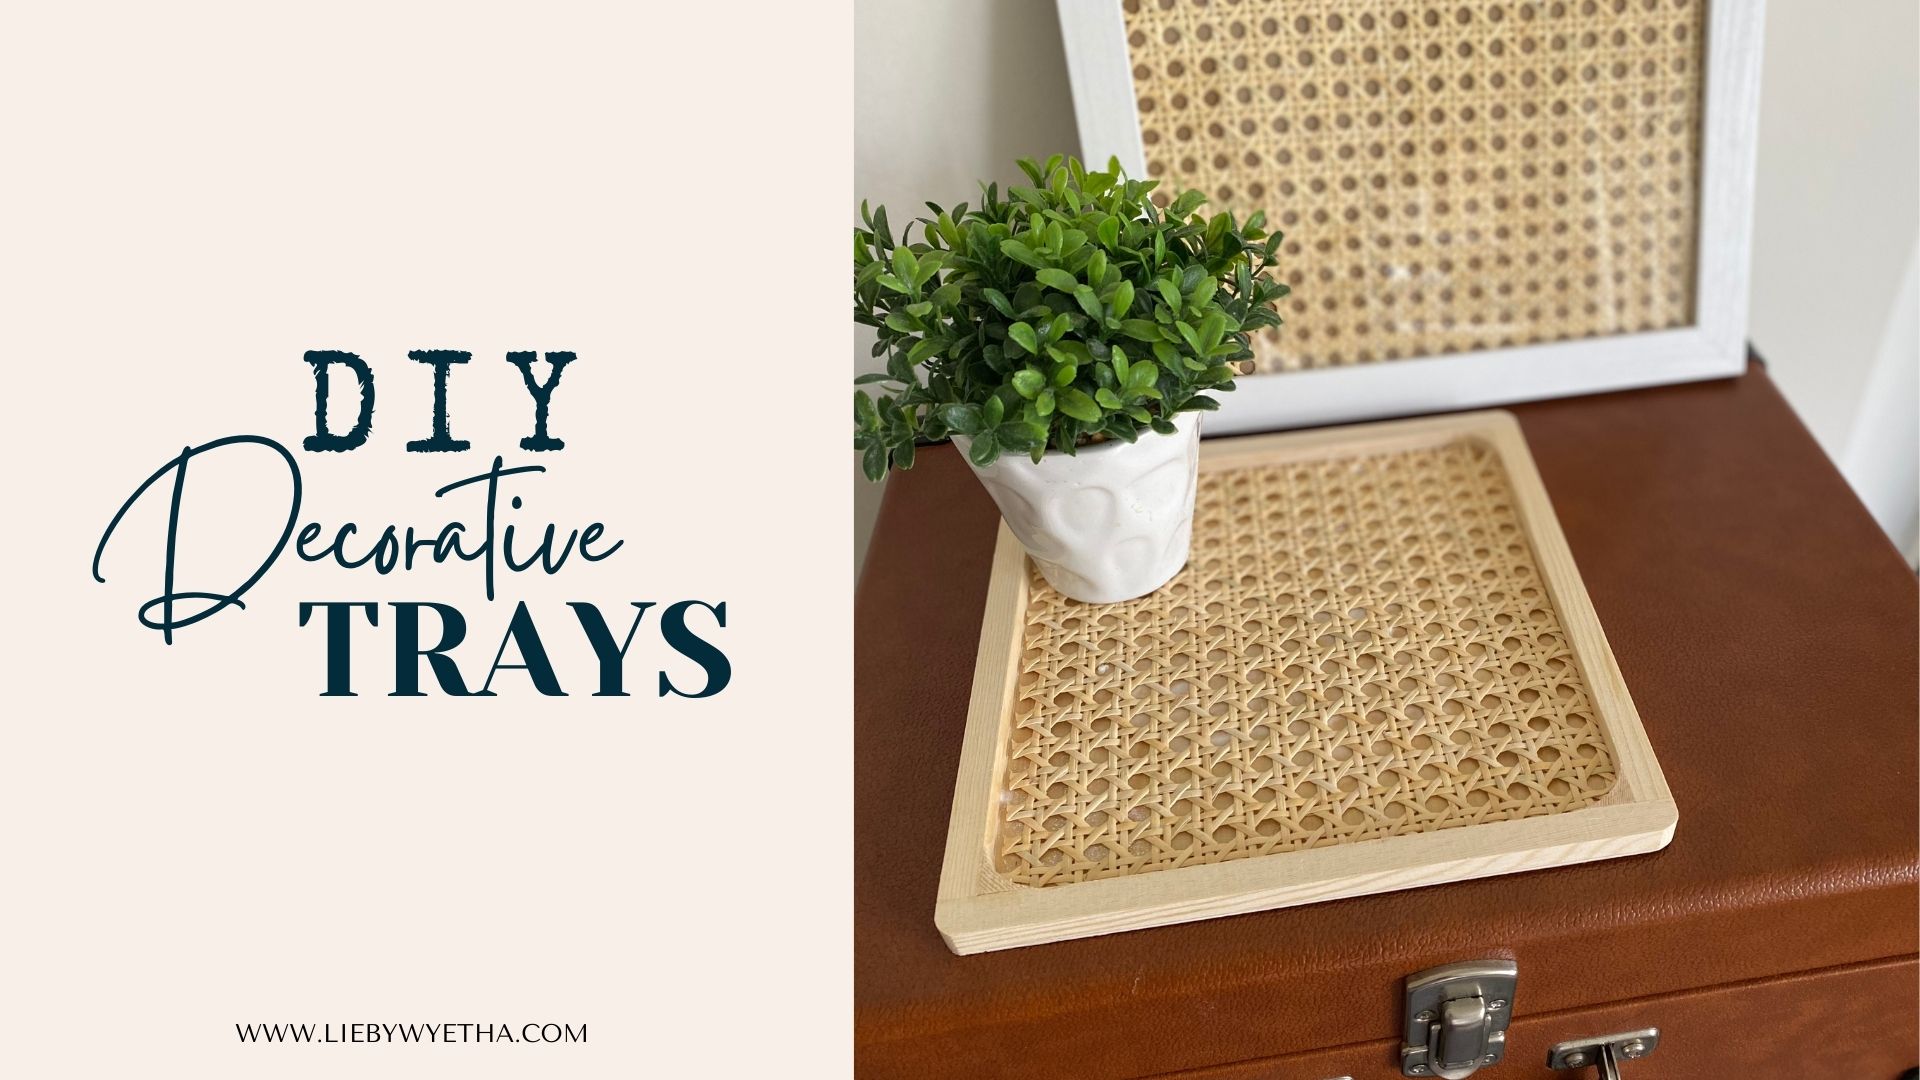
Today I’m sharing a trendy DIY piece that I made using cane webbing. Can webbing has been around for so many years that I’m actually surprised it’s made somewhat of a comeback. Everyone had these chairs, in their kitchen, folks had bookshelves made with this material and for a time it was everywhere.
What is Cane Webbing?
Cane webbing is a pre-woven cane made by a machine from strands of chair cane. It is primarily used for re-seating cane chairs that have a groove around the seat opening rather than drilled holes. It is also used on cabinet doors. The cane webbing is held in place in the groove with the proper size spline and glue. (source: caneandbasket.com)
I know that nothing ever really goes out of style so I wanted to add a little to my home with two decorative trays. Because this project was so inexpensive to make, I won’t be sad if after a few months I decided to use something else altogether.

The Project Inspiration

I’ve been looking high and low for a small tray for my entryway and something for my daughter’s dresser. Everything was pretty expensive from about $35-$48 dollars (per tray).
I got to thinking…I can make this. The problem was finding a wooden tray to lay the cane webbing in.
A quick check on Amazon and a plain tray cost just as much as what I originally wanted, so I had to get creative. I found myself wandering the isles in Micheal’s looking for a solution. I found a small wood plaque and a white picture frame that was 8 x 10.
Check out my YouTube slideshow on how this little project turned out.
I’m so happy to be kicking off my first DIY of the year. All the details and shop links are in the description of the video which I’ve linked here. Also, don’t forget to take advantage of my code for 40% of an annual membership with Skillshare using the promo “annual40aff”.
I Love How Mine Turned Out!

Thanks so much for visiting the blog today. Don’t forget to follow and subscribe as it really helps out my little site. Have a great Wednesday! — Peace —


2 thoughts on “DIY Decorative Trays Made with Cane Webbing!”